
Building Your First Edge AI Robot with Arduino Ventuno Q
Why this matters for builders
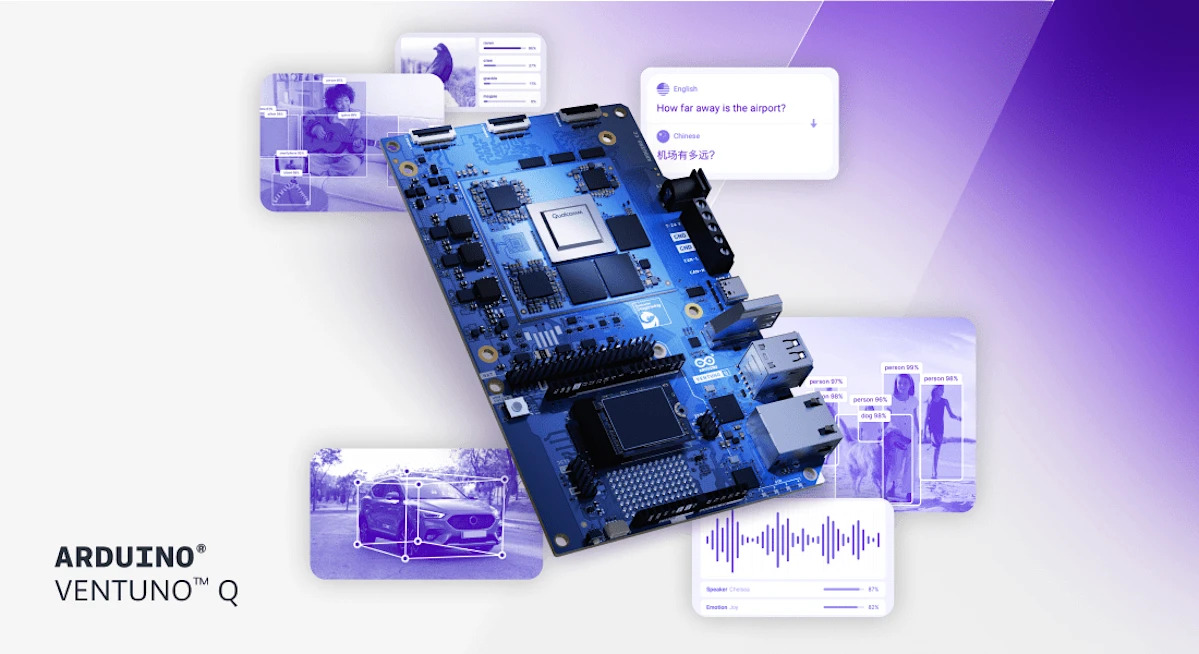
Qualcomm’s acquisition of Arduino has produced its most powerful board yet: the Arduino Ventuno Q. It combines an 8-core ARM Cortex CPU, Adreno GPU, and a Hexagon Tensor NPU delivering up to 40 TOPs, paired with a dedicated STM32H5 microcontroller for deterministic, low-latency motor control. You get 16 GB LPDDR5 RAM, 64 GB eMMC, Wi-Fi 6, Bluetooth 5.3, 2.5 Gbps Ethernet, and native USB camera support—all on a single board that runs entirely offline.
For the first time, makers and indie robotics builders can run real vision-language models (VLMs), object tracking, pose estimation, and gesture recognition locally while maintaining precise actuator timing. This collapses the usual cloud-to-edge pipeline into one device and brings advanced robotics prototyping within reach for under $300 (expected Q2 2026).
When to use it
Use the Ventuno Q when your project needs:
- Real-time perception + deterministic actuation on the same board
- Fully offline AI (smart kiosks, healthcare assistants, warehouse robots, educational demonstrators)
- Computer vision + motor control without a separate Jetson or Raspberry Pi + microcontroller combo
- Rapid iteration between AI model tweaks and physical behavior
Skip it for simple sensor projects that fit on a classic Arduino Uno or when you need sub-5 W power consumption.
The full process — from idea to shipped robot
Follow this reliable workflow. Every step is designed for builders who already know how to edit code and use AI coding assistants (Claude, Cursor, GitHub Copilot, etc.).
1. Define the goal (30 minutes)
Write a one-paragraph mission statement. Example:
“Build a desktop robotic arm that uses an onboard USB camera to detect colored blocks, classifies them with a lightweight VLM, then picks and sorts them into two bins using precise servo control—all running offline on the Ventuno Q.”
Be specific about success metrics: latency under 300 ms from frame to action, 95 % classification accuracy on the target objects, zero cloud dependency.
2. Shape the spec and prompt (45 minutes)
Create a system prompt you can reuse with any coding assistant. Copy-paste template (adapted to official capabilities):
You are an expert Arduino Ventuno Q robotics engineer.

Target hardware:
- Qualcomm Dragonwing IQ8 (8-core ARM, Adreno GPU, Hexagon NPU @ 40 TOPs)
- STM32H5 MCU for motor timing
- 16 GB LPDDR5, 64 GB eMMC + M.2 NVMe option
- USB camera input
- Arduino App Lab with pre-trained models (object detection, pose estimation, VLMs, gesture recognition)

Project: [insert your one-paragraph goal]

Constraints:
- Everything must run offline
- Vision pipeline on NPU/GPU, motor control on STM32H5
- Use Arduino’s robotics stack for vision-to-actuation handoff
- Keep total latency under 400 ms end-to-end

Deliverables:
1. High-level architecture diagram (text)
2. Folder structure
3. Main application sketch in C++/Arduino style
4. Python helper scripts for model conversion or dataset prep (if needed)
5. Step-by-step flashing and testing instructions
Feed this into your AI coding tool. Ask it to expand into a complete spec before writing any code.
3. Scaffold the project (1–2 hours)
Once you have the architecture, create the skeleton:
ventuno-sorter/
├── src/
│   ├── main.ino               # entry point
│   ├── vision_pipeline.cpp    # camera → NPU inference
│   ├── decision_logic.cpp     # VLM or object tracker output → action
│   ├── motor_control.cpp      # STM32H5 deterministic commands
│   └── utils.h
├── models/                    # symlink or copy from Arduino App Lab
├── config/
│   └── pins.json              # servo, camera, LED mappings
├── tests/
│   └── unit/                  # host-based tests where possible
├── platformio.ini             # recommended for modern Arduino development
└── README.md
Prompt example for scaffolding:
“Generate the complete folder structure and stub files for a Ventuno Q block-sorting robot using the architecture you just proposed. Include realistic pin definitions for common servos and the USB camera interface.”
4. Implement carefully (4–8 hours spread over days)
Work in this order:
a. Camera and vision pipeline first
Use the pre-trained object detection or tracking model from Arduino App Lab. Start with a simple color blob or ArUco marker for quick wins, then swap in the VLM path.
b. Decision layer
Keep it deterministic at first (if class == "red" then bin 1). Later add lightweight on-device LLM reasoning if your use case benefits.
c. Motor control on STM32H5
Treat the MCU as a real-time co-processor. Send high-level commands over a fast inter-processor link and let the STM32H5 handle precise PWM timing.
d. Orchestration
The main loop should look roughly like:
// Pseudocode — adapt to actual Ventuno Q APIs when board arrives
void loop() {
  frame = captureCamera();
  detection = runNPUInference(frame);           // Hexagon NPU
  action = decide(detection);                   // CPU or lightweight VLM
  sendCommandToSTM32(action);                   // low-latency link
  waitForCompletionSignal();                    // deterministic feedback
}
Use your AI coding assistant to fill each module. Always ask it to explain the data flow between NPU, CPU, and STM32H5 before accepting the code.
5. Validate (2–4 hours)
Create a validation checklist:
- Camera stream runs at ≥15 fps
- Inference latency on Hexagon NPU < 150 ms for target model
- Motor commands arrive with < 5 ms jitter (measure with oscilloscope or logic analyzer)
- End-to-end perception-to-action latency < 400 ms
- System stays stable for 30-minute continuous operation
- No thermal throttling under load (monitor with provided tools)
- Graceful fallback when camera is occluded
Record a short video of the robot performing the task 10 times and calculate success rate.
6. Ship it safely
- Document every non-obvious pin mapping and model choice
- Include a “How to flash” section using the Arduino IDE or PlatformIO
- Add a safety section: emergency stop button, power limits, servo torque warnings
- Open-source the repo with a clear license
- Record a 60-second demo video showing the robot working completely offline
Pitfalls and guardrails
- Do not assume you can run huge LLMs—stick to the pre-trained models provided in Arduino App Lab or properly quantized versions that fit in 16 GB.
- The STM32H5 is the real-time hero; never put timing-critical code on the main Dragonwing CPU.
- USB camera bandwidth can become a bottleneck—test frame rates early.
- Power delivery matters: the board is more power-hungry than classic Arduinos. Use a quality 5 V / 5 A supply for motors + compute.
- Firmware updates for the NPU and STM32H5 will likely be separate—track both.
What to do next — 7-day checklist
- Day 1: Pre-order the Ventuno Q and gather components (camera, servos, chassis)
- Day 2–3: Finalize spec and generate full scaffold with AI assistant
- Day 4–5: Implement and test vision + decision loop on a host machine (simulate NPU calls)
- Day 6: Receive board, flash, validate end-to-end
- Day 7: Record demo, write documentation, publish repo
Once the first project is shipped, the next logical steps are multi-robot coordination over Wi-Fi 6, adding voice commands via offline ASR, or deploying a fleet of inspection robots.
The Ventuno Q finally makes “perceive, decide, and act on a single board” a practical reality for indie builders. Start small, validate ruthlessly, and you’ll have a genuinely impressive offline AI robot faster than you expect.
Sources
- Original Engadget article: https://www.engadget.com/ai/qualcomms-new-arduino-ventuno-q-is-an-ai-focused-computer-designed-for-robotics-113047697.html
- Qualcomm official announcement and product page
- Additional details from NotebookCheck, FoneArena, Hackster.io, and Arduino/Qualcomm joint release (March 2026)
(Word count: 1,048)